There are basically four ways, some or more difficult, but all lead to the same result. Having the custom URL of your uploaded image/file, which is hosted by Shopify (i.e., cdn.shopify.com domain), so that you can share it or use it in your emails.
The main benefit of having the file hosted on the Shopify CDN is the global network coverage allowing visitors fast download no matter where they are located. And, of course, it's free (part of your Shopify plan subscription).

Method #1 – Upload Image or File via Shopify Files
This is probably the most straightforward approach using a section called Files in your Shopify admin. It's available for all Shopify plans including the Basic one. The challenge is that the section is actually "hidden" as part of the store settings.
- Go to your store admin and navigate to Settings
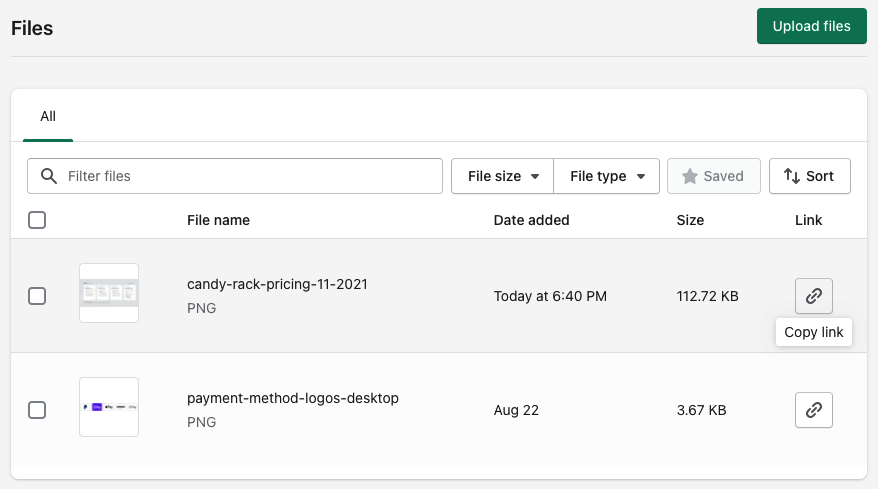
- In the left menu, select Files
- Click on the green button Upload files and choose your file to upload
- Once the file is uploaded and processed, you can see it in the list. To get the direct link, simply click on the "link" icon
If you are on a paid Shopify plan, you can upload any files except the HTML files. The maximum file size is 20 MBs, and the resolution of 20 MPx (megapixels).
Uploading has certain limitations if you are on a trial plan, and only the following file extensions are supported due to security reasons.
- JS
- CSS
- GIF
- JPG
- PNG
- JSON
- CSV
- PDF (only after email validation)
Method #2 – Upload Image (not File) via Shopify Theme Editor
If you don't want to use the upload via Files (or you don't have access to them), you can use a theme editor.
- Go to your store admin and navigate to Online Store > Themes
- Click on Customize for any of your themes (doesn't need to be the live one)
- Click on Add section and select any element which has an image. Alternatively, you can find an existing element on your store and change the image by uploading a new one
- Once you upload the image, right-click on it and open it in a new tab to get the URL. The URL will be very likely a cropped version and will look like this https://cdn.shopify.com/s/files/1/0463/8775/7221/files/shopify_256x256_crop_center.png?v=1637539155, so you just need to delete the "_256x256_crop_center" and there's your link
- Once done, don't forget to delete the new section or close the theme editor without saving it. The uploaded image will remain in your store
Obviously, the big disadvantage is that you can only upload an image file format (i.e., GIF, JPG, or PNG).
Method #3 – Upload Image (not File) via Rich Text Editor
The third method is similar to the second one and also allows you to upload images only. You basically need to find any rich text editor inside your Shopify admin so you can upload a custom image.
The rich editor can be found, for example, in the product description or blog posts.
- Go to your store admin and navigate to Products
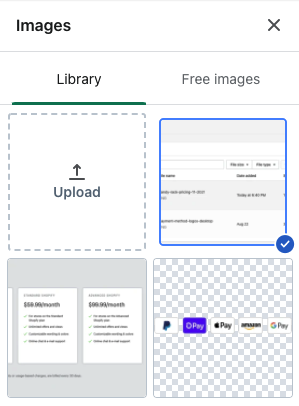
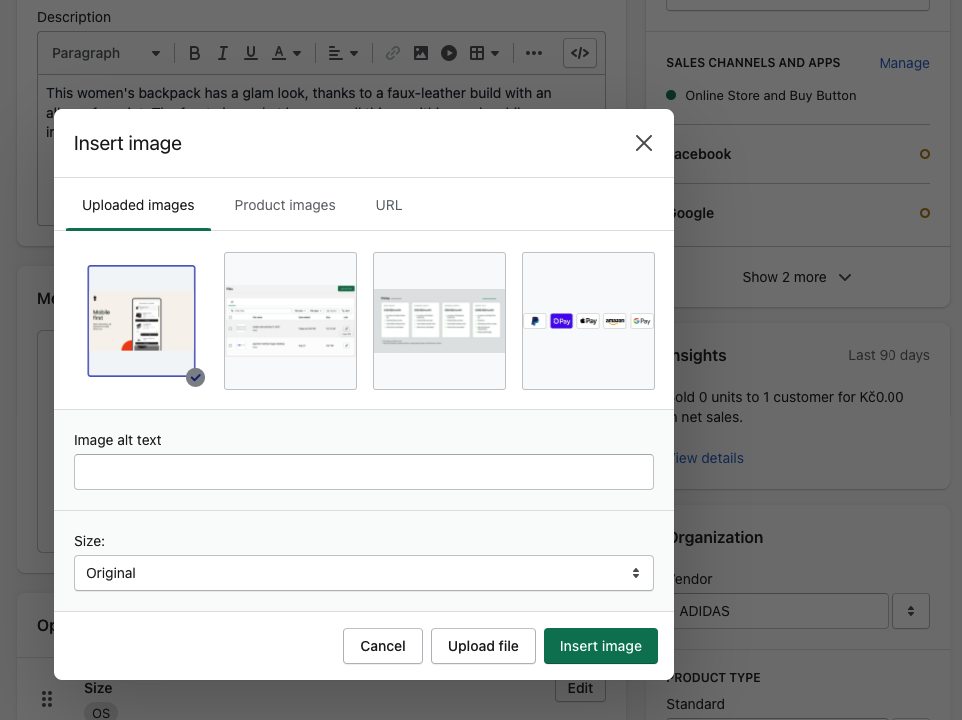
- Inside the Description tab, click on the image icon and upload your custom image
- Insert the uploaded image into the product description and make sure to select the original size
- Righ-click on the inserted image and select "Open Image in New Tab" to retrieve the unique URL
- Close the product edits without saving (the image will still be uploaded)
Method #4 – Upload Image or File via Shopify Metafields
Shopify metafields (a.k.a. custom fields) have been in the system for some time, but in July 2021, they were introduced as part of the admin, including a simple UI editor.
They allow you to extend your store (products, collections, customers) with custom fields. One of the field types is a file, which will enable you to upload any custom file to your store.
- Go to your store admin and navigate to Settings > Metafields
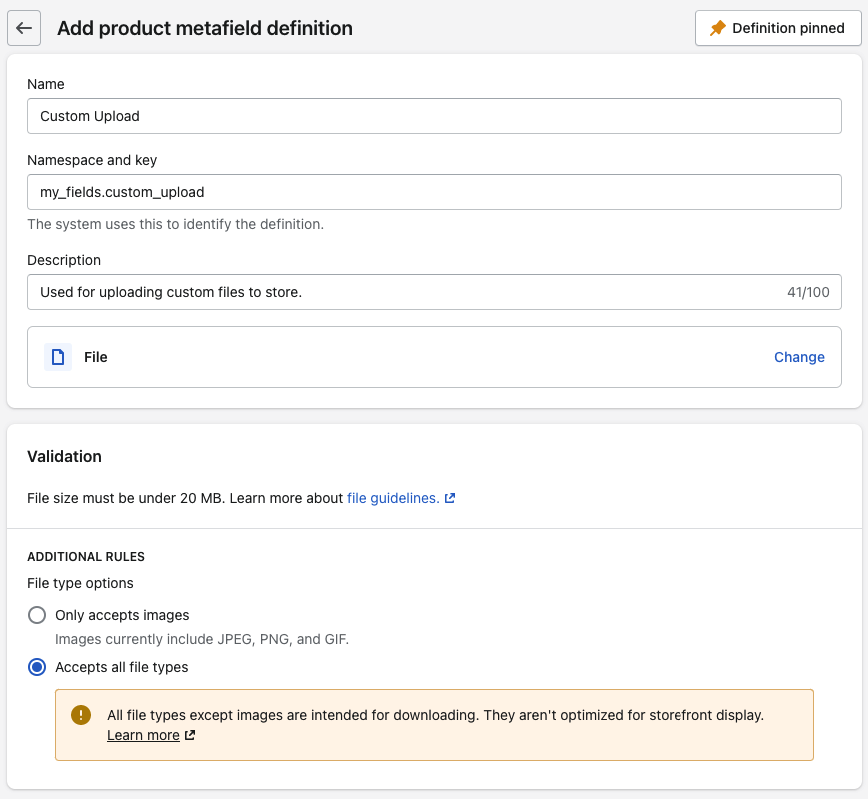
- Select Products from the overview and click on Add definition
- Enter the name and description of your metafield, and click on Select content type > File. Change the file options from images only to Accepts all file types, and save the metafield
- Go back to store admin and navigate to Products, and select any product
- Scroll down to the Metafields section and upload a custom file
Which Method is the Best One?
As you can see, each method is very different, but we definitely recommend the first one – uploading custom files via the file section in settings.
It's the most straightforward one, allows you to upload both files and images and easily retrieve their direct links.
Other methods work too, but they are rather workarounds.