A sitemap is a directory of all store’s URLs that are meant to be shown in the search results. Sitemaps help search engines crawl website pages and put them to the index: in other words, sitemap files make URLs accessible to searchers.
Shopify has this covered for you: it automatically creates and updates a sitemap. But you still need to submit it to search engines. In this post, we’ll guide you through the process of finding and submitting your Shopify XML sitemap, and explain how to create an HTML sitemap.
First of all, let’s see why you absolutely need to have a valid sitemap.
Why do you need a Shopify sitemap?
As we’ve mentioned, sitemaps help search bots discover web pages to rank them properly. If your pages are open for indexing, they can be found and ranked even without a sitemap. But a sitemap provides some valuable information:
- What pages should be included in the index (a proper sitemap file won’t include pages that are not meant for search, such as color-specific product variations)
- How often web pages are updated and when was the last time they were modified
- What ranking priority do different pages have (although it’s discussed whether Google actually pays attention to this)
In some cases, a sitemap is especially valuable for SEO:
- If your store has a lot of pages. The more pages you have, the more time search engines need to process them, understand their content, and include them in rankings. With a sitemap, they can do all that faster.
- If you have orphan and dead-end pages. If your store has pages that don’t link out to any other pages or don’t have any other pages linking out to them, a sitemap can help search bots find those pages that are not participating in your internal linking. Note that you’ll anyway need to fix this and create internal links to orphan pages and from dead-end pages.
- If you’ve just launched a store. To get a new site appreciated by search engines as quickly as possible, you’ll need to have a proper sitemap.
➡️For more information on search optimization, check out our guide to Shopify SEO.
How to find a sitemap on a Shopify store?
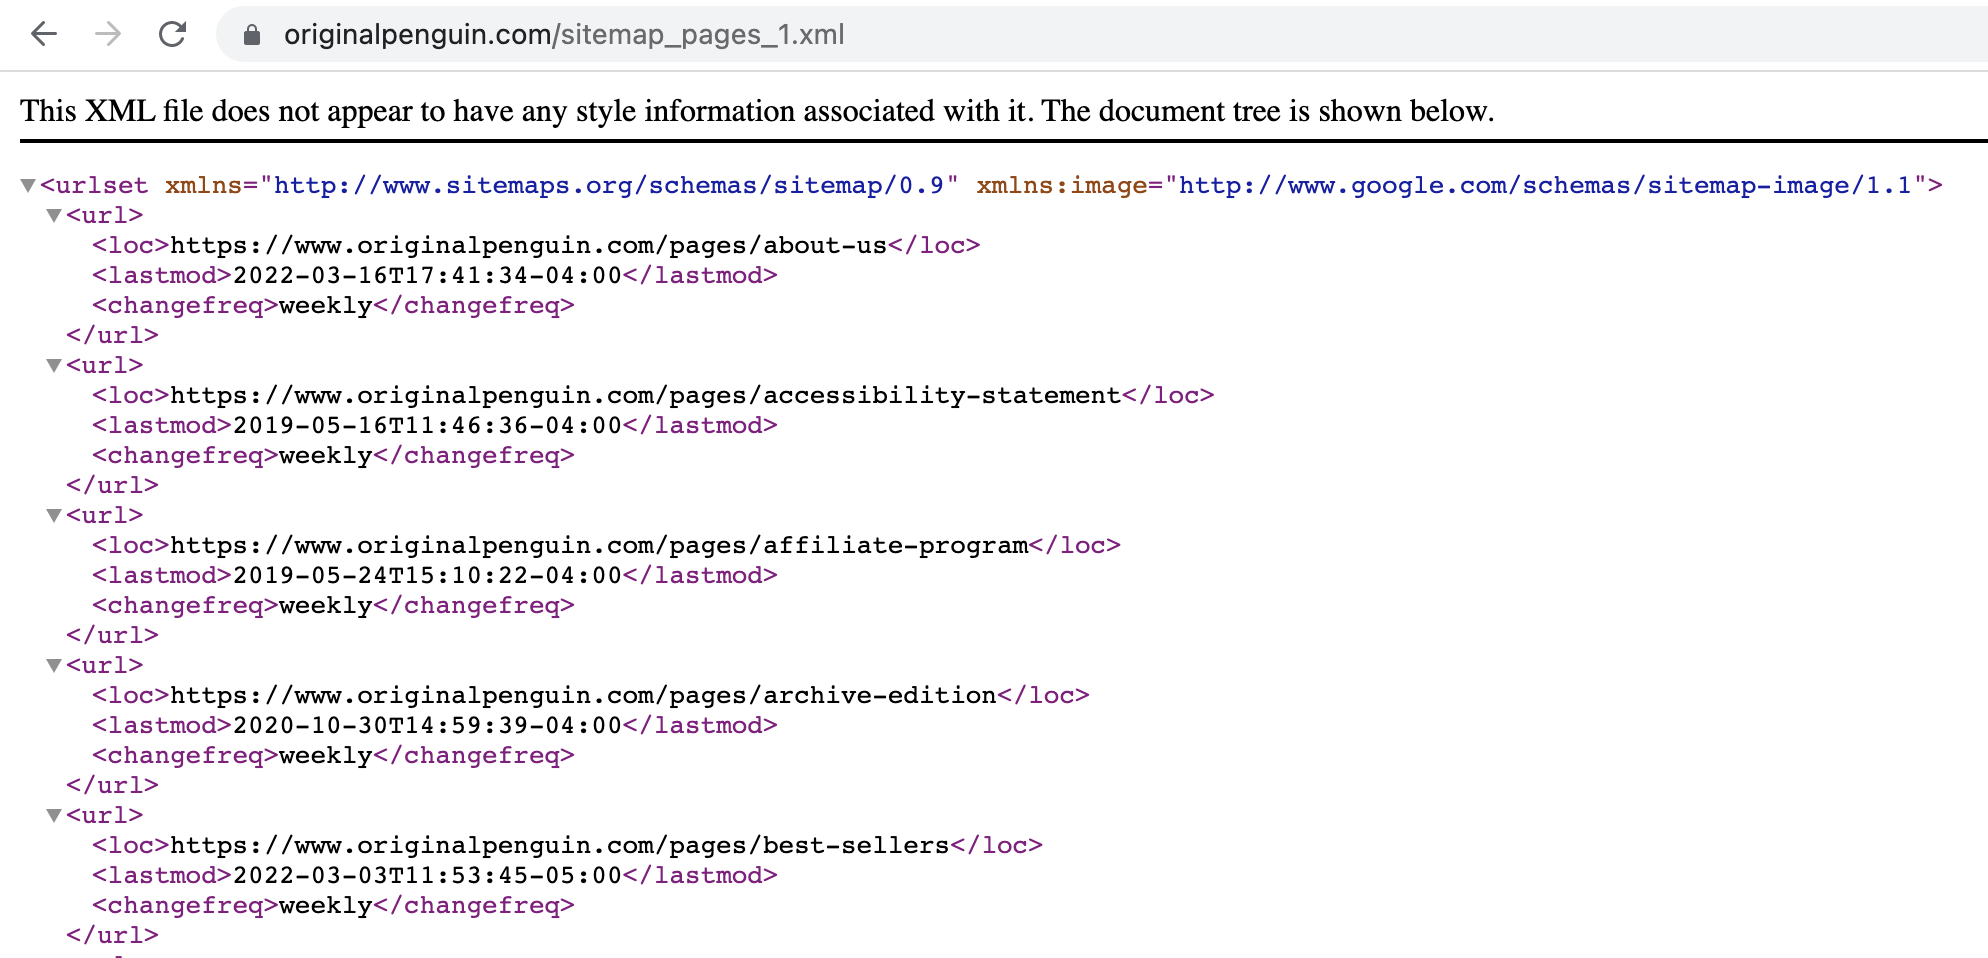
To find your sitemap automatically generated by Shopify, just add /sitemapXML to your store’s domain. This is what you should see as a result:

If your Shopify sitemap’s URL doesn’t open, contact Shopify support to resolve the issue.
What’s included in a Shopify sitemap?
Usually, a sitemap includes a full list of pages in one file. But the Shopify sitemap generator follows another logic—it includes several sitemaps in one: for product pages, collection pages, blog pages, and other pages. The main sitemap is called a parent one, and each of the individual sitemaps can be accessed by its URL indicated within the <loc> tag.
🌍 If you have country-specific domains, then Shopify will generate sitemap files for each of them. Available on Shopify, Advanced Shopify, and Shopify Plus plans.
When going to an individual sitemap from a parent one, you’ll see more parameters:
- <lastmod> shows when the page was last updated
- <changefreq> indicates how often the page is updated
The trick here is that Shopify does everything automatically. On the one hand, it’s a good thing as you don’t have to worry about updating a sitemap manually each time one of your pages gets changed. But on the other hand, Shopify somehow calculates the likely frequency of change and doesn’t let you edit it. Some merchants are requesting the feature to edit the frequency along with other parameters but don’t receive a response.
The inability to edit modification frequency for your pages can also be seen as a good thing. When sites try to speculate on this parameter and indicate unrealistic frequency to get Google re-index their pages faster, the search engine doesn’t fall for that.
This leads us to a general question:
Can you edit a Shopify sitemap?
No. Shopify doesn’t let you control your sitemap and does all the job for you.
You can still create a custom Shopify sitemap with the help of other tools, for instance, Screaming Frog. Putting additional efforts into manually creating a sitemap for a Shopify store makes sense if, for example, you’ve migrated to this CMS and changed the URL structure, or if you have certain product variations to be indexed separately.
How to remove pages from indexing using a sitemap?
A sitemap should include only those pages that you want to appear in the search results. If you need to block certain pages from indexing, use the noindex directive in the robots meta tag. To do so, go to Online Store > Themes > Actions > Edit code > Layout > {/} theme.liquid and insert a piece of code to the <head> section:
{% if handle contains 'page you want to exclude' %}
<meta name="robots" content="noindex, follow">
{% endif %}
With these directives, the robots meta tag will instruct search engines to exclude a specific page from the index but crawl all links on this page.
When you block certain pages, they should automatically be removed from your Shopify website sitemap. But it won’t hurt to check because if your sitemap still includes a page you want to exclude, it confuses search engines.
Do you need separate sitemaps for visual content?
By default, a Shopify sitemap lets only one image per page be indexed. This is not ideal if your store features a lot of images you want to be searchable or if you have images that search bots won’t find without a sitemap (for example, those loaded via the JavaScript code).
There’s a nice solution to this problem: the Image Sitemap app generates a separate file with your pictures of up to 10,000 lines. It also includes product metadata (SKU, color, size, etc.) which helps Google better understand your images and show them in relevant searches. The app claims to result in a 600%+ increase in indexed images. Its price starts from $4 per month, and there’s a 21-day free trial available.
This is how image data will look in a sitemap:

How to submit your Shopify sitemap to Google and Bing?
To help search engines discover your pages, you have to submit a sitemap to them. They can crawl and rank your pages without a sitemap, by relying on internal linking, but it’s easier for them if you add your Shopify sitemap to webmaster tools. Let’s explore how it works with Google.
How to submit your Shopify sitemap to Google?
First of all, you should verify the ownership of your site via Google Search Console. There are several ways to do so—for instance, with an HTML tag. When you add a property in GSC, it will generate a piece of code that you’ll have to insert into your store’s homepage. To do the latter, you’ll need to go to your Shopify admin > Online Store > Themes > Actions > Edit code > Layout > {/} theme.liquid. Once you land there, find the opening <head> tag and insert a received piece of code below it.
After successful verification, you can submit a sitemap. Open Google Search Console and go to Sitemaps. In the Add a new sitemap field, simply add your Shopify sitemap’s URL and click Submit. If you have several country-specific domains, submit each sitemap individually.
How to submit your Shopify sitemap to Bing?
Similarly to GSC, you need to go to Bing Webmaster > Sitemaps and click on Submit sitemap. Find more details in Bing’s instructions.
What if search engines don’t fetch your sitemap?
If Google couldn’t fetch your Shopify sitemap, it will show the Couldn’t fetch error in Search Console. This might happen for several reasons:
- You don’t have a custom domain. If you’re adding a sitemap for a store under the domain name store.myshopify.com, it might not be processed. Learn how to change your Shopify store’s domain from our post.
- You don’t have any blog posts. Some merchants shared their experience in Shopify Community, telling that publishing a blog post helped Google accept a sitemap. Apparently, it happens because Shopify includes a separate blog sitemap by default, and if it’s empty, Google has trouble reading it.
If you have any other issues with a sitemap, discuss them with Shopify’s support.
How to know if your pages get indexed?
In Google Search Console, you can see how many URLs indicated in your sitemap are discoverable:

Unfortunately, you won’t see which URLs exactly haven’t been indexed if the number of discovered URLs is lower than the number of all pages you want to be shown in the search. If this happens, it makes sense to consult with an SEO specialist.
❗Note that it takes up to several weeks for search engines to crawl your pages so don’t expect your store to get indexed or re-indexed instantly.
What is the difference between XML and HTML sitemap on Shopify?
There are actually two types of sitemaps. An XML sitemap is designed for search bots and, essentially, helps you get higher rankings. In turn, an HTML sitemap is created for real users: it’s usually featured in the footer and leads to the page with a simple visualization of your site’s structure and hierarchy.
Do you need both?
It’s up to you whether to create an HTML sitemap for your store. It might be helpful if the store’s structure is complex—a sitemap can quickly navigate visitors to the right section, subsection, brand, or product.
However, the value of such a sitemap is debatable. Google itself encouraged to create one (in a post dated back to 2005), but in 2019, Google’s major analyst agreed that an HTML sitemap isn’t worthy for SEO and might signal poor site navigation and internal search.
If you decide to create one, you can not only present your section and product structure there but highlight some important pages: delivery information, recent promos, details about the company, etc.
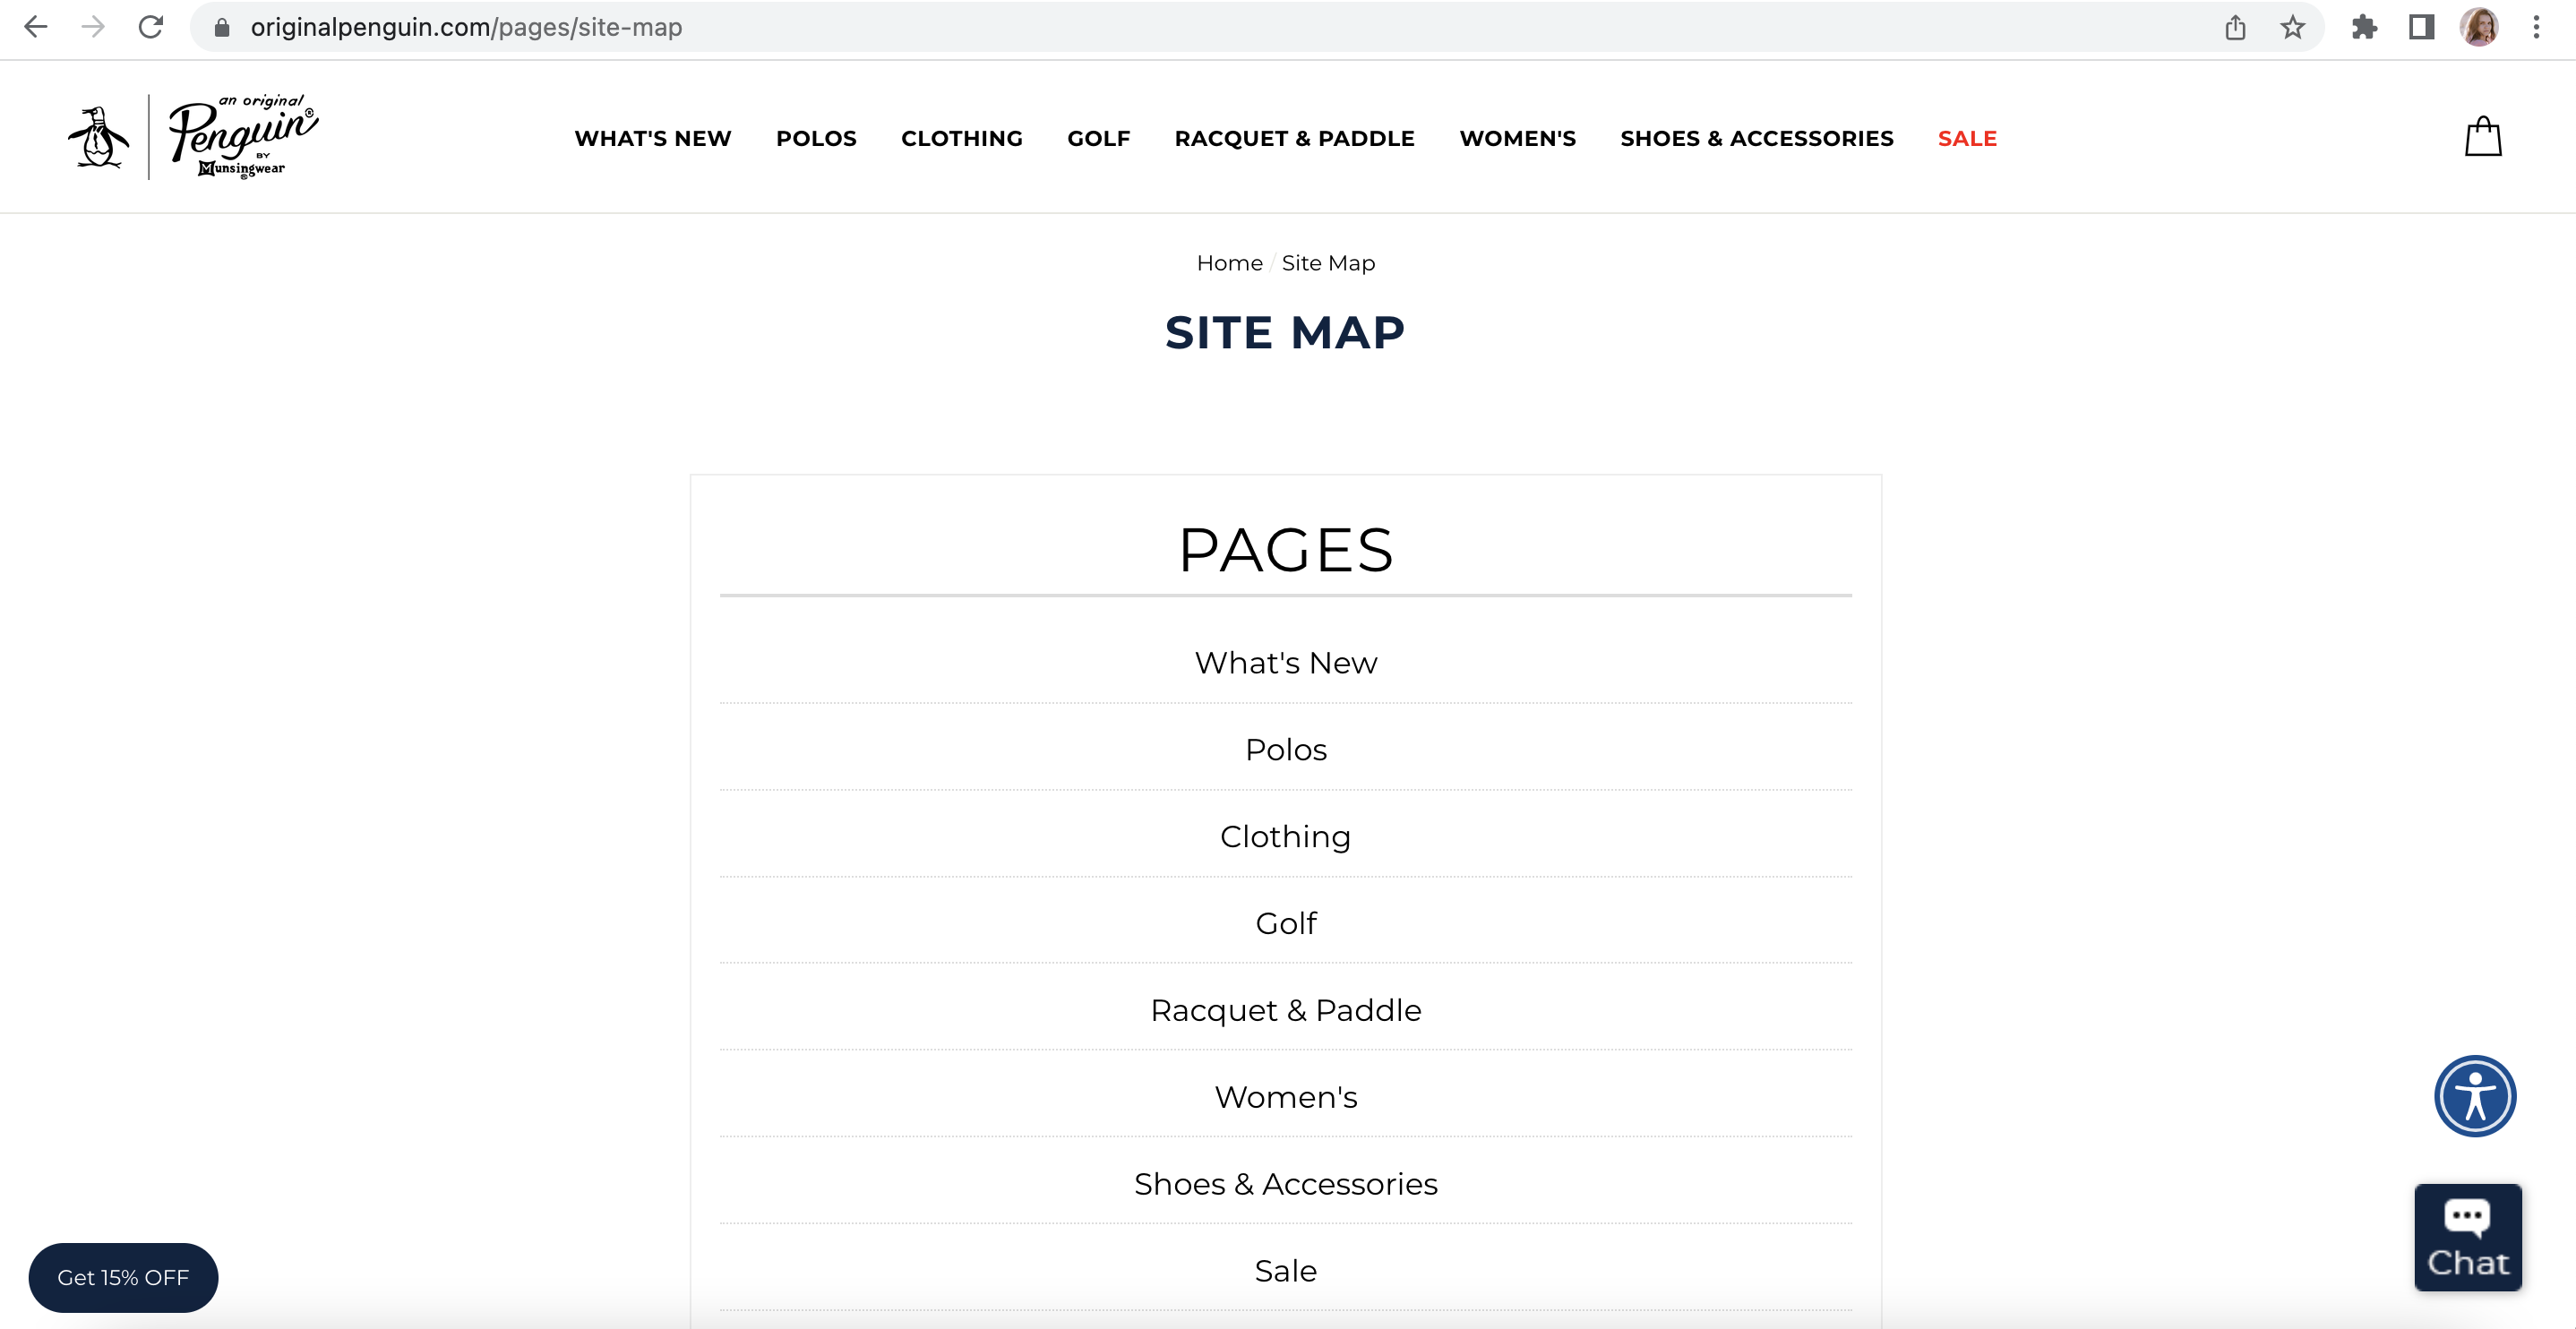
Some stores just duplicate what they have in the main site menu to the sitemap:
This is not as practical as making a more comprehensive sitemap that might be easier for customers to navigate through than a menu. Take a look at this example:

There are plenty of Shopify sitemap apps that will help you generate an HTML sitemap. Check out Magical Sitemap (free), SEO Sitemap Builder #1 Sitemap (from $3.95 per month), Sitemapper: #1 Popular Sitemap (from $4.99 per month), and SEO HTML and XML Sitemap (from $3 per month). The name of the latter might be confusing as it has nothing to do with an XML sitemap but only lets you create an HTML one for users. Some general SEO apps for Shopify also include sitemap functionality.
We hope this post helps you get a better grasp of what sitemaps on Shopify are, how they function, and what you need to do to ensure proper indexing of your pages. If you have any questions, feel free to ask.
FAQ about Shopify sitemaps
What is a sitemap on Shopify?
A sitemap is an XML file that includes all store’s URLs meant for indexing. Another type of sitemap, an HTML one, is a separate page that visualizes the store’s structure for visitors.
How to find a sitemap on Shopify?
To find your store’s sitemap, add /sitemap.xml to your domain name.
How to edit a Shopify sitemap?
You can’t edit a Shopify sitemap, as well as upload your own file. Everything is generated and updated automatically.
Are there any Shopify apps for sitemap management?
Several apps are out there to help you create an HTML sitemap, but there are none to give you control over your XML sitemap.