One of the biggest strengths of the Shopify platform is the large variety of store themes (both free and paid). But sometimes you may need to slightly adjust the layout or change the colors. For some of these changes (especially the advanced ones), you will need to edit the CSS file of the theme. You can also use the custom CSS to edit the design of the third-party apps installed on your store. What’s the best way to do that?
Option 1: Add custom CSS via theme editor (recommended)
In February 2023, Shopify introduced a new way of managing custom CSS. It's now a native part of every theme built by Shopify (i.e. Dawn) and our recommended option to manage CSS on your store.
The main benefits are simple CSS management, live preview of changes, supported theme updates, and built-in validator and suggestions.
To add custom CSS via the theme editor please follow these steps:
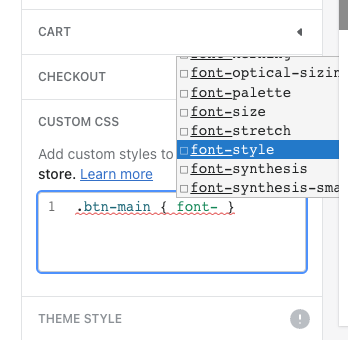
- Go to your store admin > Sales channels > Online Store > Customize
- Go to theme settings (paintbrush icon in the left menu) > CUSTOM CSS
- Add custom CSS per your need, check the live preview, and click on Save if all is good
The main disadvantage is the character limit which is 500 characters for specific section and 1.500 characters for the whole theme.
Option 2: Edit the theme design (colors, fonts, CSS, etc.)
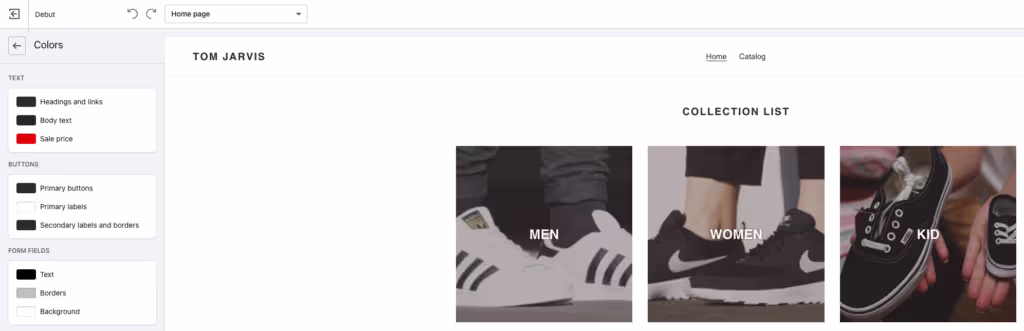
Sometimes you actually don’t need to edit the CSS just use the built-in theme customizer. It offers various options depending on the theme you are using but mostly you will be to change only standard stuff like colors, font types, and sometimes layouts.
Some of the themes has also a section called “Custom CSS” where you can add in your CSS. It’s practically very similar to editing a theme file CSS (see below) as once you update the theme, it will be lost as well. Unless the theme is using some advanced theme updater which not many do.
Option 3: Add/edit the custom CSS in your theme
The common way of editing the CSS is editing it inside the existing CSS file located in the theme code. It’s usually called theme.scss.liquid or base.css in the new Shopify 2.0 themes (i.e., Dawn). You can find it by going to your store admin > Online Store > Themes > Actions > Edit code > Assets folder.
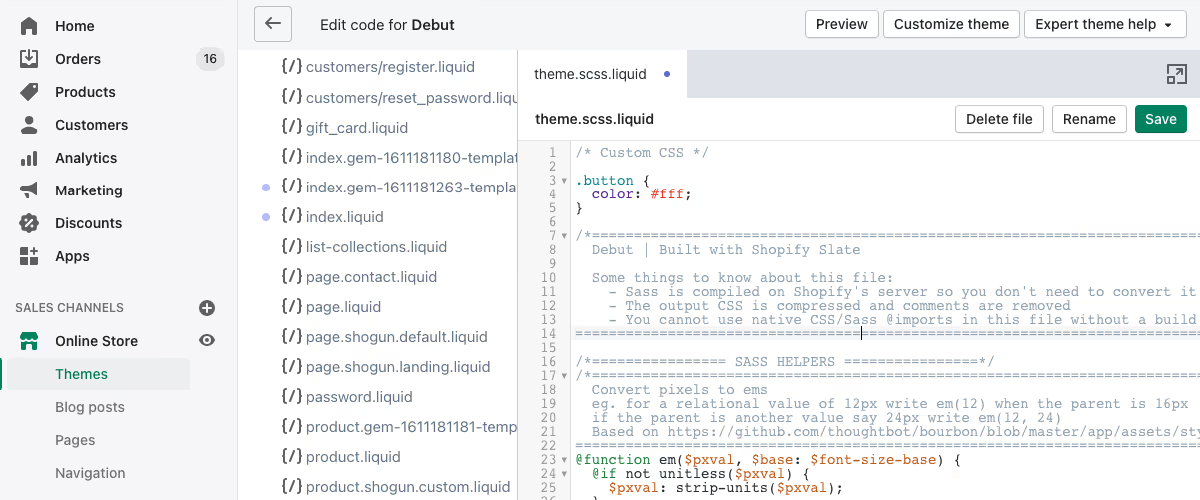
Once you open it you can edit or add any CSS you want. The disadvantage is that if you change or update the theme, your CSS will be lost. It’s a good practice to put all your customizations in a section called “Custom CSS” or similar and just copy & paste it to the new theme in case you need it.
Option 4: Create the custom CSS file
This is very similar to the option 2, but instead of editing existing CSS file, you will create a new one. The main advantage is that once the theme is updated or changed, you can easily connect your CSS file.
To create your own CSS file go to store admin > Online Store > Themes > Actions > Edit code > Assets folder, and click on Add a new asset. On the pop-up select Create a blank file and name it whatever you want (for example, custom.css).

Once you have the new CSS file created, you can add your custom CSS. The important part is to "call" from your theme, so it's actually used. To do so go to Layout folder and open a file called theme.liquid. Add following liquid code to the <head> section where "custom.css" is the file name of your custom CSS file.
Once you update or change your theme, you need to copy this code to theme.liquid again. But the custom CSS file will always stay in your assets folder.
Option 5: Add/edit the custom CSS via third-party app
The last method requires the installation of a third-party app but provides a big advantage. All the custom CSS entered into the app is independent of your current theme. So you can change or update themes as you like but the CSS will prevail. Or you can target the CSS for each theme installed as shown in the example below.
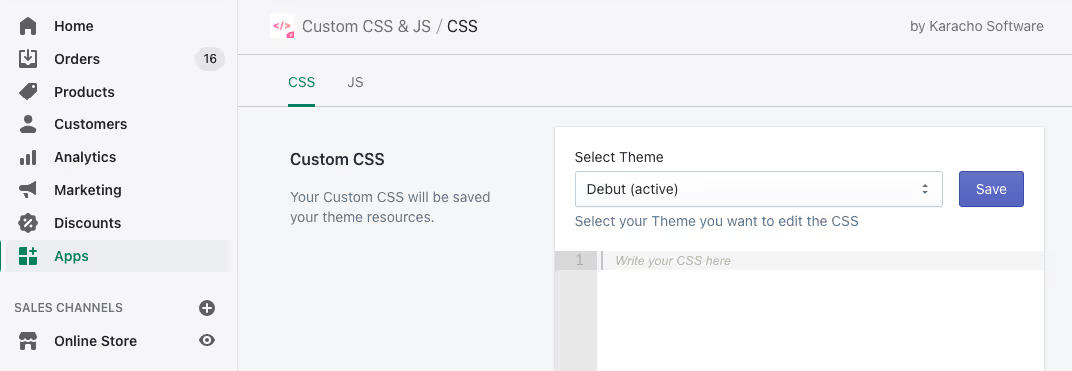
There are a few apps that do this and some of them are even free. The disadvantage is that every app has some impact on the store’s performance. Especially if the CSS is loaded via a different file. So consider carefully which way is the best for your store.
If you need any help with customizing your store CSS or theme changes, feel free to contact us, and our agency team will be happy to help.